前言
在网页上嵌入一个 Typora 编辑器是不是很酷的一件事?
Markdown是程序员写文档最喜欢的语法,但是直接写Markdown并不够直观,所以出现了「所见即所得」的Markdown编辑器,Typora就是拔尖的产品。
我的博客写作过程是先在 Typora上写好,然后复制Markdown到博客编辑上进行保存发布。开始使用Markdown编辑器是 for-editor,我之前写过for-editor富文本组件的使用方法 React富文本——markdown编辑器
但是这个过程太麻烦了,如果有一个富文本组件能够实现 Markdown所击即所得的编辑文章,那就完美了。
经过在 GitHub 上搜索,发现了类似的富文本组件 Vditor
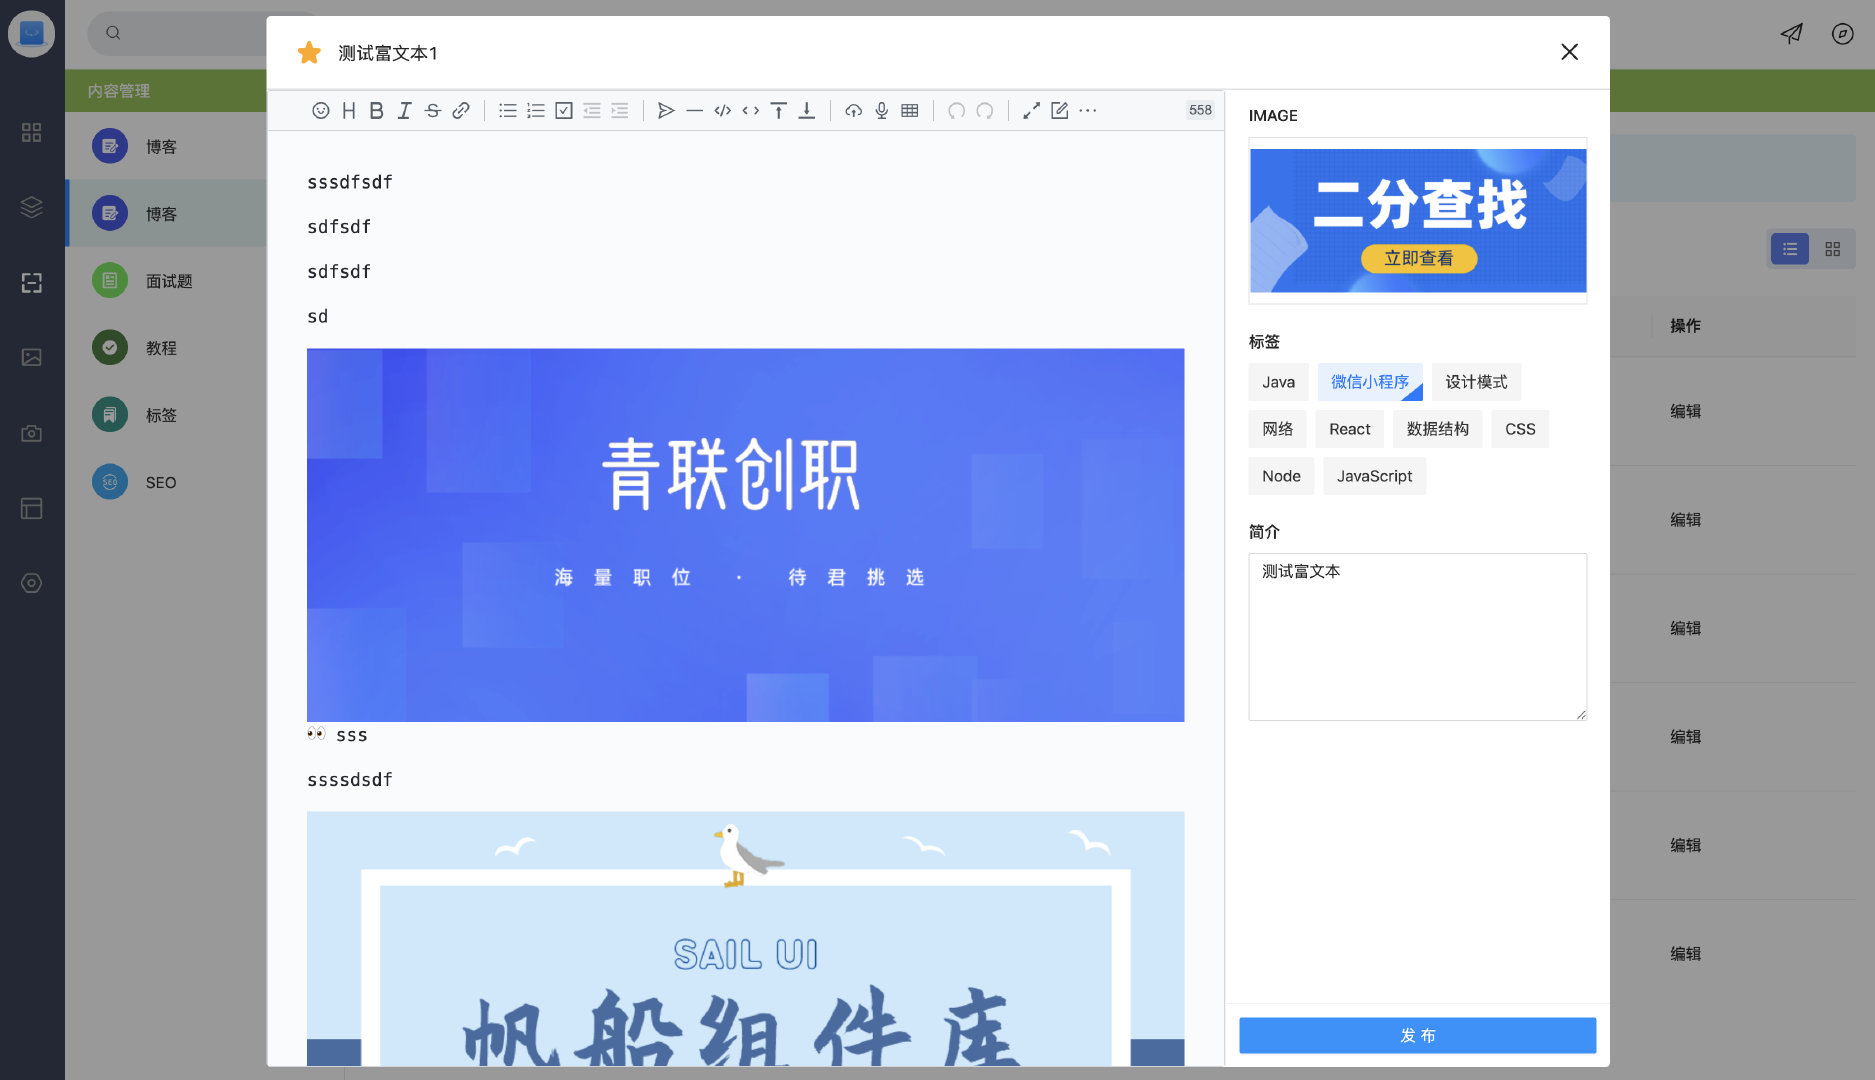
成品图

安装依赖
NPM
npm install vditor --save
UMD
<link rel="stylesheet" href="https://cdn.jsdelivr.net/npm/vditor/dist/index.css" />
<script src="https://cdn.jsdelivr.net/npm/vditor/dist/index.min.js"></script>
初始化编辑器
import React, { useEffect, useRef } from 'react';
import Vditor from 'vditor';
import "vditor/dist/index.css";
import './index.less';

interface MarkdownEditorProps {
    value: string;
    onChange: (value: string) => void;
}

export default function MarkdownEditor(props: MarkdownEditorProps) {
    const { value, onChange } = props;
    const editorRef = useRef<HTMLDivElement>(null);

    useEffect(() => {
        const vditor = new Vditor(editorRef.current,
            {
                value,
                input: (value) => onChange(value),
                cache: { id: 'vditor' },
                height: '100%',
                counter: { enable: true }
            })
    }, [])


    return (
        <div className="markdown-editor" ref={editorRef}>

        </div>
    )
}
【vditor示例图】

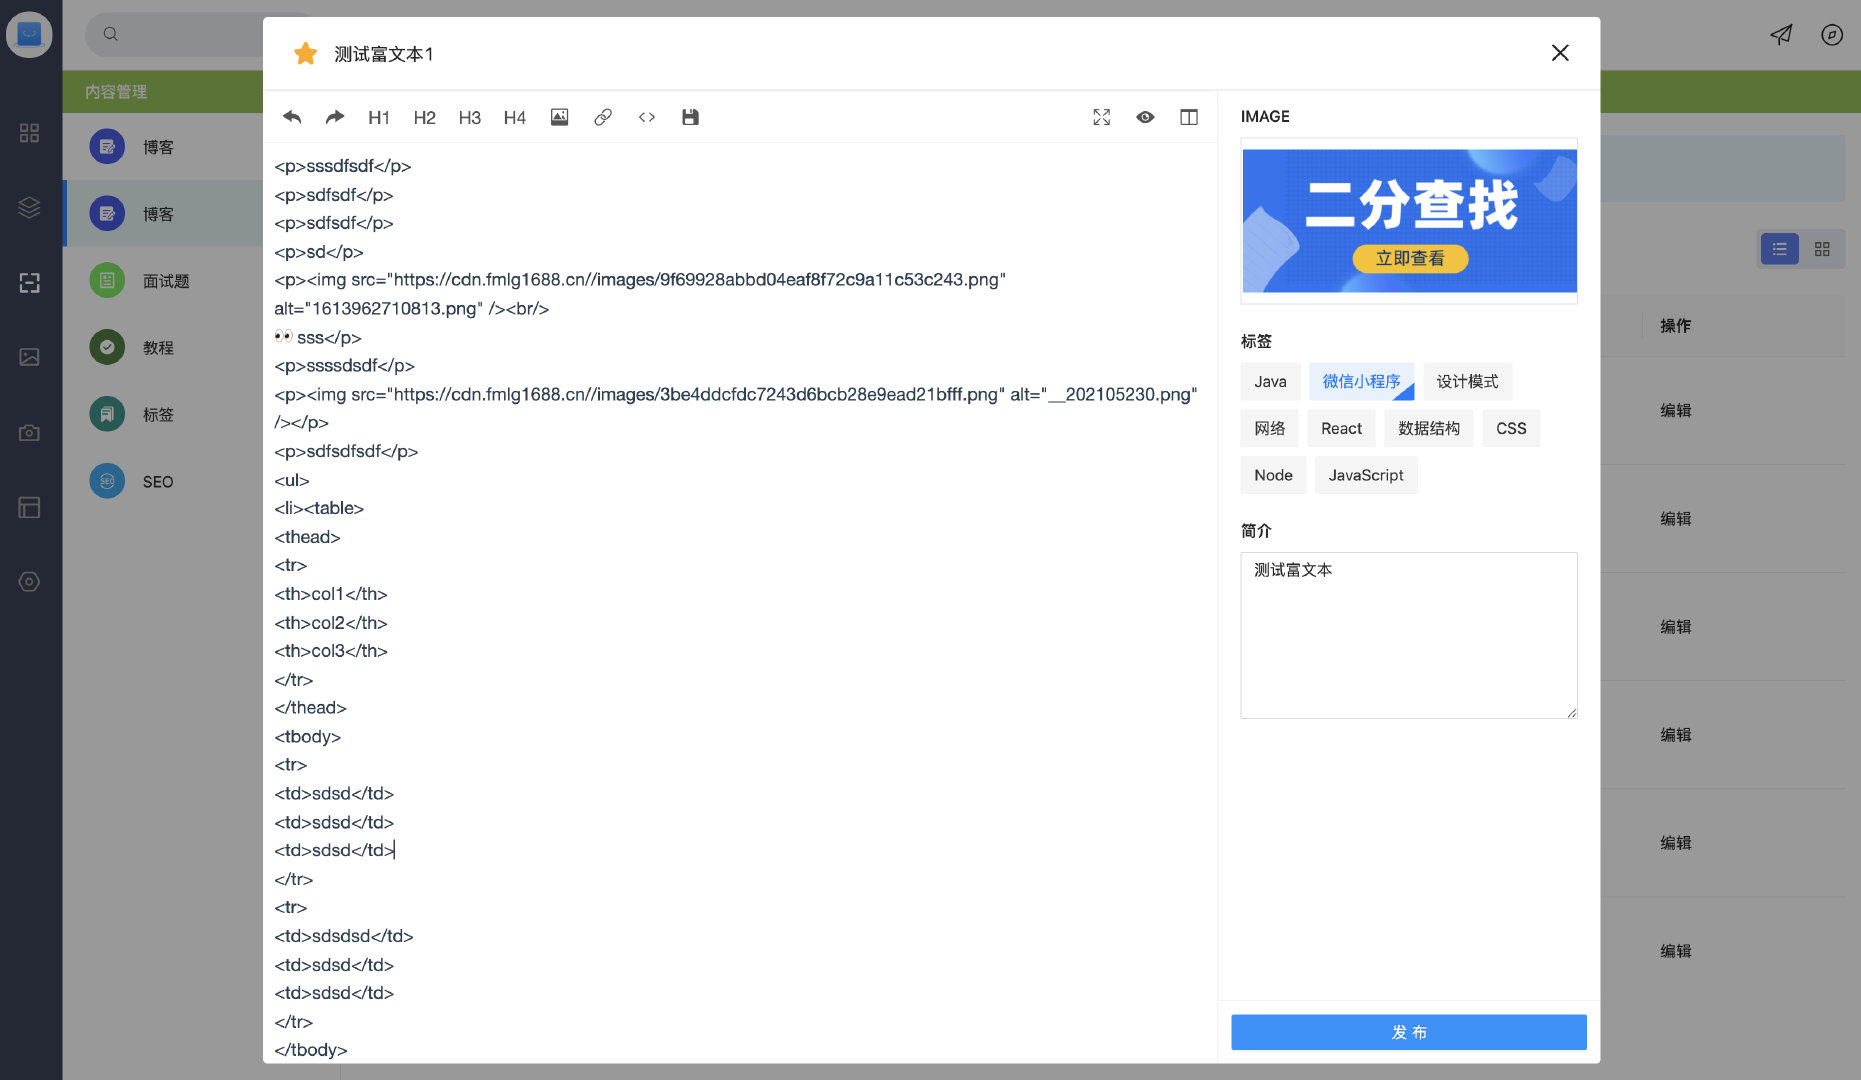
对比之前我使用的纯Markdown编辑器for-editor,如果想使用for-editor编辑器,可以参考:React富文本——markdown编辑器
【for-editor示例图】

vditor详细配置
Vditor官网地址

附件上传功能
配置config

javascript">   let vditor = new Vditor(editorRef.current,
            {
                value,
                input: onChange,
                cache: { id: 'vditor' },
                height: '100%',
                counter: { enable: true },
                // outline: { enable: true, position: 'right' },
                upload: {
                    url: 'http://localhost:300/upload',
                    fieldName: 'file',
                    extraData: { packet: 'blog' },
                    format: (files: File[], responseTxt) => {
                        const res = JSON.parse(responseTxt);
                        const name = files[0].name;
                        const url = res.data.url;
                        const result = JSON.stringify({ code: 0, data: { errFiles: '', succMap: { [name]: url } } });
                        return result;
                    },
                }
            })
一、默认流程
-
采用vditor默认上传流程,upload必填参数
-
url 填写处理上传服务器地址
-
fieldName 是服务器接受附件参数的字段
-
extraData 除了附件参数外额外的参数
-
format 方法讲服务器返回值格式化成vditor接受的数据格式(JSON格式)
{ code: 0, data: { errFiles: ‘’, succMap: { [name]: url } } }
-
二、自定义上传
-
通过 handler 方法处理上传过程,接受 File 参数,返回vditor接受的数据格式
{ code: 0, data: { errFiles: ‘’, succMap: { [name]: url } } }
三、服务器处理
【koa】
ajax图片上传功能实现(点击,拖拽,粘贴)Koa服务端
【Nest】
import {
  Post,
  UseInterceptors,
  UploadedFile,
} from '@nestjs/common';

@Post('upload')
  @UseInterceptors(FileInterceptor('file'))
  async smmsCommon(@UploadedFile() file, @Body() body) {
    const { packet } = body;

    const random = uuidv4().replace(/-/g, '');
    const prefix = file.originalname.split('.').pop().toLowerCase();
    const targeName = `${random}.${prefix}`;

    ...

    return {code:0,data:'http://localhost:3000/image.png'}
}


