目录
扩展学习资料
高阶组件
@/src/components/hoc/withTooltip.js
@/src/components/hoc/itemA.jsx
@/src/components/hoc/itemB.jsx
@/src/App.js
函数作为子组件【Render pprops】
函数作为子组件
@/src/components/rp/itemC.jsx【父组件】
@/src/components/rp/withTooltip.js【子组件】
练习
扩展学习资料
| 资料名称 | 链接 |
| 扩展阅读 | React组件Render Props VS HOC 设计模式 - 简书 |
| 扩展阅读 | React Hooks 之于 HoC 与 Render Props - 知乎 |
高阶组件
复用业务逻辑:判断用户是否是vip:是->有列表,有推荐
一个组件—高阶函数—>新的逻辑的组件
高阶组件是对已有组件的封装形成新的组件之后有自己的状态和逻辑并可以传递已有的组件
const NewComponent = higherOrderComponent(OldComponent)hoc【higherOrderComponent】
@/src/components/hoc/withTooltip.js
import React from 'react';
// 带工具提示【函数组件】
const withTooltip = (Component) => {
  class HOC extends React.Component {
    state = {
      showToolTip: false,
      content: '',
    };
    handleOver = (event) => {
      this.setState({
        showToolTip: true,
        content: event.target.innerText,
      });
    };
    handleOut = () => {
      this.setState({
        showToolTip: false,
        content: '',
      });
    };
    render() {
      return (
        <div onMouseOver={this.handleOver} onMouseOut={this.handleOut}>
          <Component action={this.state} {...this.props} />
        </div>
      );
    }
  }
  return HOC;
};
export default withTooltip;
@/src/components/hoc/itemA.jsx
import React from 'react';
import withTooltip from './withTooltip';
// 一个简单的带工具提示-业务组件A
const ItemA = (props) => {
  return (
    <div className='container'>
      <button className='btn btn-primary' type='btn'>
        Tooltip A
      </button>
      {props.action.showToolTip && (
        <span className='badge badge-pill badge-primary ml-2'>
          {props.action.content}
        </span>
      )}
    </div>
  );
};
export default withTooltip(ItemA);
@/src/components/hoc/itemB.jsx
import React from 'react';
import withTooltip from './withTooltip';
// 一个简单的带工具提示-业务组件B
const ItemB = (props) => {
  return (
    <div className='container'>
      <button className='btn btn-danger' type='btn'>
        Tooltip B <i>斜体</i>、<b>粗体</b>
      </button>
      {props.action.showToolTip && (
        <span className='badge badge-pill badge-danger ml-2'>
          {props.action.content}
        </span>
      )}
    </div>
  );
};
export default withTooltip(ItemB);
@/src/App.js
import React, { PureComponent } from 'react';
import ItemA from './components/hoc/itemA';
import ItemB from './components/hoc/itemB';
class App extends PureComponent {
    render() {
        console.log('App - rendering');
        return (
          <>
            <ItemA id="1" />
            <ItemB id="2" />
          </>
     	 );
    }
}
export default App;ItemA,ItemB都需要相同的withTooltip【props.action】显示逻辑,只需要将withTooltip封装就能得到一个将已有组件封装为高阶组件的高阶(封装)函数
- 一个函数,传入一个组件,返回一个新组件
- 一般不会有UI展现
- 提供一些可复用的功能
函数作为子组件【Render pprops】
解决复用逻辑的问题
函数作为子组件
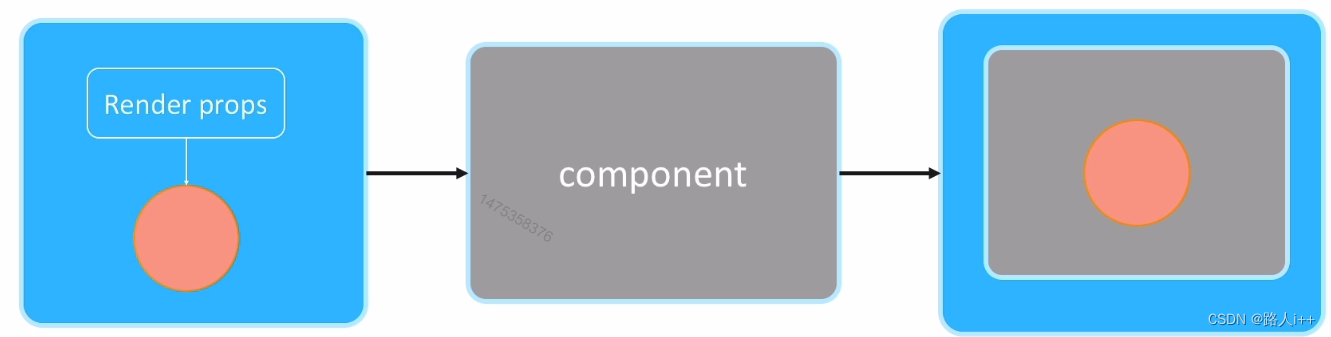
1.定义子组件
// 子组件
render () {
    return (
        <div>
        	{this.props.render(this.state)}
         </div>
    )
}
2.使用函数作为Props
// 父组件
<RenderPropComponent render={(state)=>(
    <div>
       content
    </div>
)}>
@/src/components/rp/itemC.jsx【父组件】
import React from 'react';
import WithTooltip from './withTooltip';
// 一个简单的带工具提示-业务组件A
const ItemC = (props) => {
  return (
    <div className='container'>
      <WithTooltip
        render={({ showToolTip, content }) => (
          <div>
            <button className='btn btn-primary' type='btn'>
              Tooltip C
            </button>
            {showToolTip && (
              <span className='badge badge-pill badge-primary ml-2'>
                {content}
              </span>
            )}
          </div>
        )}>
        {({ showToolTip, content }) => (
          <div>
            <button className='btn btn-primary' type='btn'>
              Tooltip D
            </button>
            {showToolTip && (
              <span className='badge badge-pill badge-primary ml-2'>
                {content}
              </span>
            )}
          </div>
        )}
      </WithTooltip>
    </div>
  );
};
export default ItemC;
@/src/components/rp/withTooltip.js【子组件】
import React from 'react';
class WithTooltip extends React.Component {
  // // eslint-disable-next-line no-useless-constructor
  // constructor(props) {
  //  super(props);
  // }
  state = {
    showToolTip: false,
    content: '',
  };
  handleOver = (event) => {
    this.setState({
      showToolTip: true,
      content: event.target.innerText,
    });
  };
  handleOut = () => {
    this.setState({
      showToolTip: false,
      content: '',
    });
  };
  render() {
    return (
      <div onMouseOver={this.handleOver} onMouseOut={this.handleOut}>
        {this.props.render && this.props.render(this.state)}
        {this.props.children && this.props.children(this.state)}
      </div>
    );
  }
}
export default WithTooltip;
练习
【题目1】分别使用Render Props和HOC模式实现购物车ToolTips功能;
【题目2】说明Render Props 和 HOC设计模式的优缺点分别是什么;