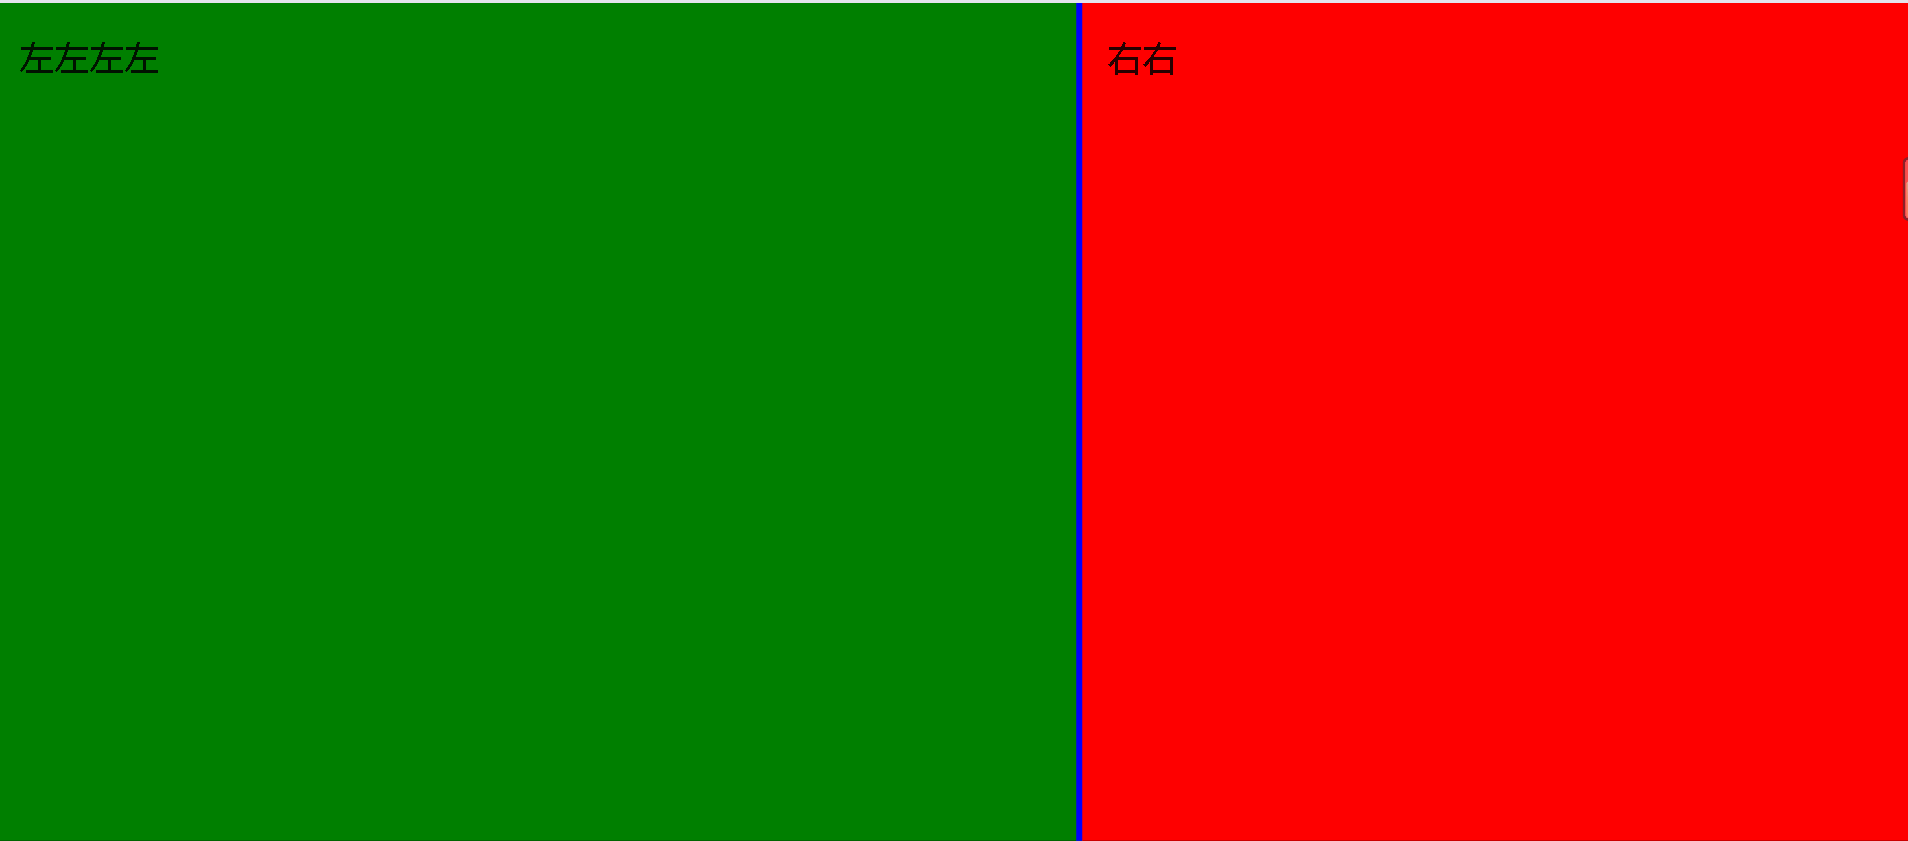
1、所实现拖拽效果
1、第一种实现效果
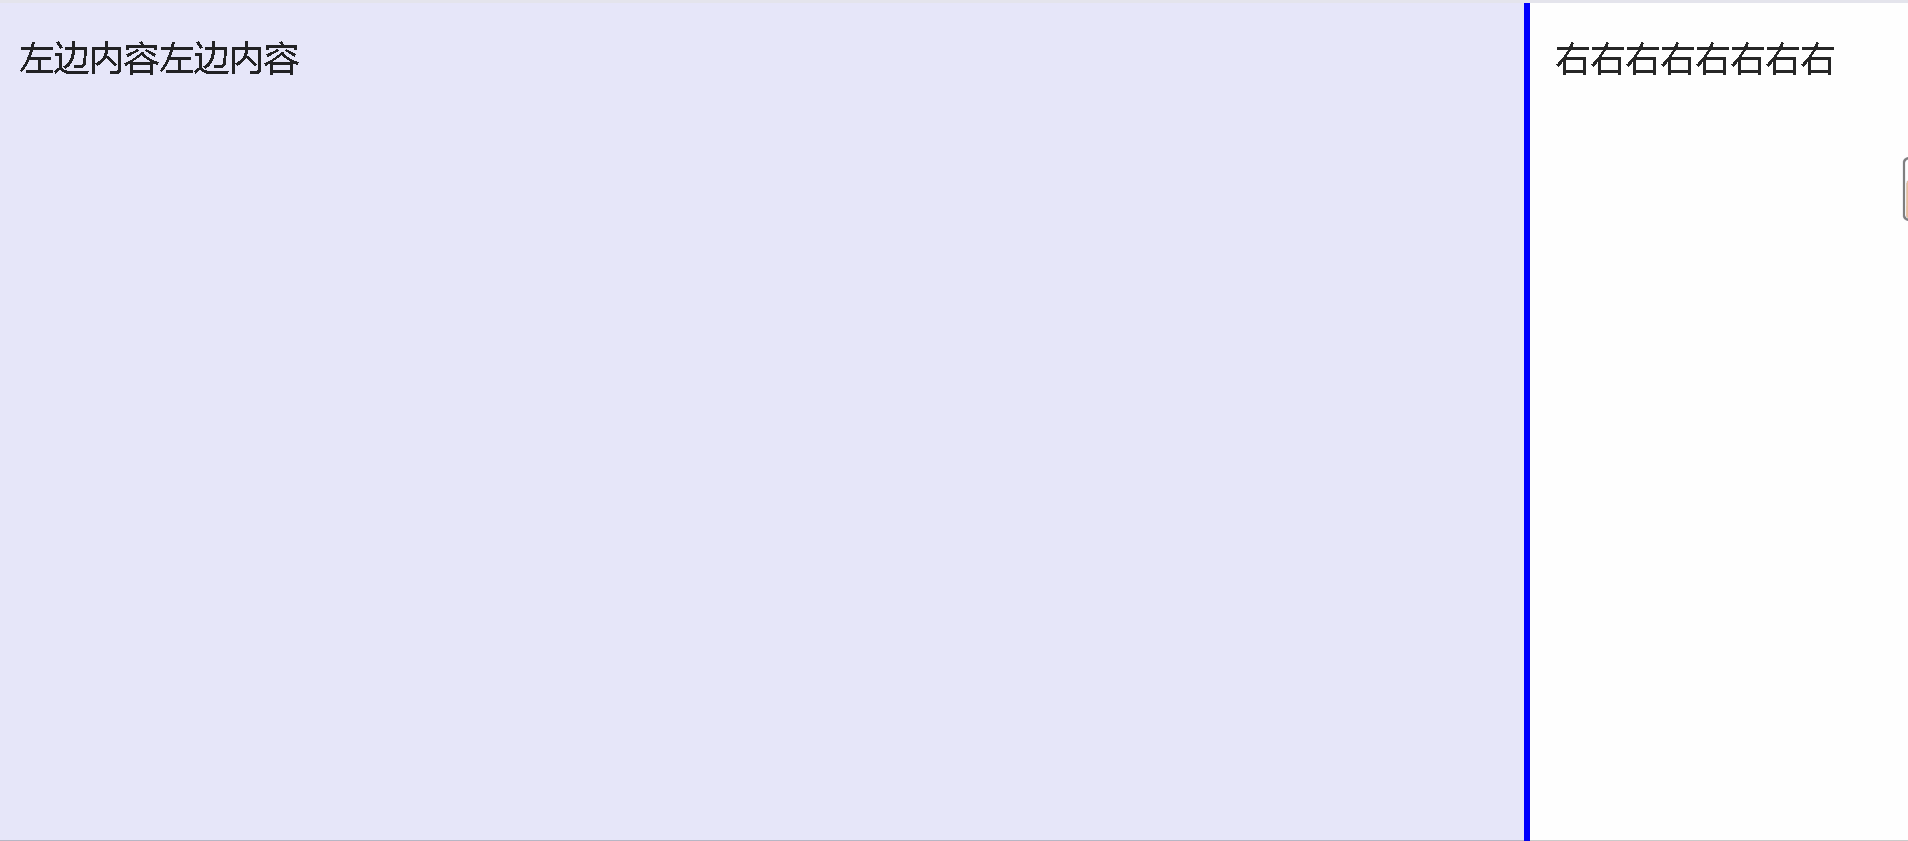
2、第二种实现效果
2、第一种实现方法
1、tsx代码
javascript">import React, { Component, useState } from 'react';
import Draggable from 'react-draggable';
import classNames from 'classnames';
import styles from './index.less';
const vhToPx = (value: number) => {
var vh = window.innerWidth / 100;
return value * vh;
};
export const dtl = () => {
const initialSize = {
initialLeftBoxWidth: vhToPx(60),
leftBoxWidth: vhToPx(60),
leftBoxMinWidth: vhToPx(40),
leftBoxMaxWidth: vhToPx(80),
dragBoxBackground: 'blue',
};
const [sizeParam, setSizeParam] = useState(initialSize);
const changeSizeParam = (params: any) => {
setSizeParam({...sizeParam, ...params});
};
const onDrag = (ev: any, ui: any) => {
const {initialLeftBoxWidth} = sizeParam;
const newLeftBoxWidth = ui.x + initialLeftBoxWidth;
changeSizeParam({
leftBoxWidth: newLeftBoxWidth,
dragBoxBackground: '#FFB6C1',
});
};
const onDragStop = () => {
changeSizeParam({
dragBoxBackground: 'blue',
});
};
return (
<div className={classNames(styles['dtl-content'])}>
<div
className={'dtl-left'}
style={{width: `${sizeParam.leftBoxWidth}px`}}
>
<h1>
左左左左
</h1>
</div>
<div
className={'dtl-right'}
style={{width: `calc(100% - ${sizeParam.leftBoxWidth}px)`}}
>
<Draggable
axis={'x'}
defaultPosition={{x: 0, y: 0}}
bounds={{
left: sizeParam.leftBoxMinWidth - sizeParam.initialLeftBoxWidth,
right: sizeParam.leftBoxMaxWidth - sizeParam.initialLeftBoxWidth,
}}
onDrag={onDrag}
onStop={onDragStop}
>
<div
className={'dragBox'}
style={{
left: `${sizeParam.initialLeftBoxWidth - 5}px`,
background: `${sizeParam.dragBoxBackground}`,
}}
/>
</Draggable>
<h1> 右右</h1>
</div>
</div>
);
};
export default dtl;
2、样式代码
.dtl-content {
  display: flex;
  justify-content: flex-start;
  flex-direction: row;
  flex-wrap: nowrap;

  width: 100%;
  height: 100%;
  position: relative;
  overflow: hidden;
  background-color: #f5f5f7;

  :global {
    .dtl-left {
      position: relative;
      height: 100vh;
      padding: 20px;
      background-color: green;
      overflow: hidden;
      display: flex;
      flex-direction: column;
      flex-grow: 1;
    }

    .dtl-right {
      height: 100vh;
      padding: 20px;
      background-color: red;
      flex-grow: 1;
      z-index: 100;
    }

    .dragBox {
      position: absolute;
      top: 0;
      width: 5px;
      height: 100vh;
      cursor: col-resize;
      z-index: 1000;
    }
  }
}
3、 第二种实现方法
1、代码
javascript">import React, { Component } from 'react';
import Draggable from 'react-draggable';
import styled from 'styled-components';
const Container = styled.div`
display: flex;
justify-content: flex-start;
`;
const LeftContent = styled.div`
position: relative;
width: ${(props) => props.width}px;
height: 100vh;
padding: 20px;
background-color: #e6e6fa;
overflow: hidden;
flex-grow: 1;
`;
const DraggableBox = styled.div`
position: absolute;
left: ${(props) => props.left}px;
top: 0;
width: 5px;
height: 100vh;
background-color: ${(props) => props.background};
cursor: col-resize;
z-index: 1000;
`;
const RightContent = styled.div`
width: calc(100% - ${(props) => props.leftBoxWidth}px);
height: 100vh;
padding: 20px;
background-color: #fff;
flex-grow: 1;
z-index: 100;
`;
const Li = styled.li`
white-space: nowrap;
`;
function vhToPx(value) {
var vh = window.innerWidth / 100;
return value * vh;
}
class DraggableExp extends Component {
state = {
initialLeftBoxWidth: vhToPx(80),
leftBoxWidth: vhToPx(80),
leftBoxMinWidth: vhToPx(40),
leftBoxMaxWidth: vhToPx(80),
dragBoxBackground: 'blue',
};
onDrag = (ev, ui) => {
const { initialLeftBoxWidth } = this.state;
const newLeftBoxWidth = ui.x + initialLeftBoxWidth;
this.setState({
leftBoxWidth: newLeftBoxWidth,
dragBoxBackground: '#FFB6C1',
});
};
onDragStop = () => {
this.setState({
dragBoxBackground: 'blue',
});
};
render() {
const {
initialLeftBoxWidth,
leftBoxWidth,
leftBoxMinWidth,
leftBoxMaxWidth,
dragBoxBackground,
} = this.state;
return (
<Container>
<LeftContent width={leftBoxWidth}>
<h1>左边内容左边内容</h1>
</LeftContent>
<RightContent leftBoxWidth={leftBoxWidth}>
<Draggable
axis="x"
defaultPosition={{ x: 0, y: 0 }}
bounds={{
left: leftBoxMinWidth - initialLeftBoxWidth,
right: leftBoxMaxWidth - initialLeftBoxWidth,
}}
onDrag={this.onDrag}
onStop={this.onDragStop}
>
<DraggableBox
left={initialLeftBoxWidth - 5}
background={dragBoxBackground}
/>
</Draggable>
<h1>右右右右右右右右</h1>
</RightContent>
</Container>
);
}
}
export default DraggableExp;
![k8s初始化报错 [ERROR CRI]: container runtime is not running: ......](https://img-blog.csdnimg.cn/direct/e334e6e5042c486f84dca6a026ea9384.png)